The Brief
Find a subject in front of a background with depth. Take a very close viewpoint and zoom in; you’ll need to be aware of the minimum focusing distance of your lens. Focus on the subject and take a single shot. Then, without changing the focal length or framing, set your focus to infinity and tone a second shot.
Without moving the camera, select a very small aperture and find a point of
My Approach
Using the same camera setup as the previous exercise, I found an old wrought iron gate at the end of a pathway to shoot.


My first attempt at this exercise wasn’t all that successful as I made a simple error that is common with modern zoom lenses such as my 70 to 200mm. The lens has a manual override of the auto-focus function which means that if a subject is locked in focus, the photographer can manual adjust the focus to something different simply by grabbing the focus ring. I always shoot with a single, central focusing point because of my enthusiasm for old film cameras which often don’t have a fancy autofocus system. When I reviewed these images, it was clear that I must have momentarily let go of the shutter release button between frames which allowed the camera to do the focussing for me. In Photo 2, the sign is sharp but beyond that point the effect of using f8 is seen with the railing and dust losing sharpness. I concluded from this that the camera was not focused at infinity.
Second Attempt
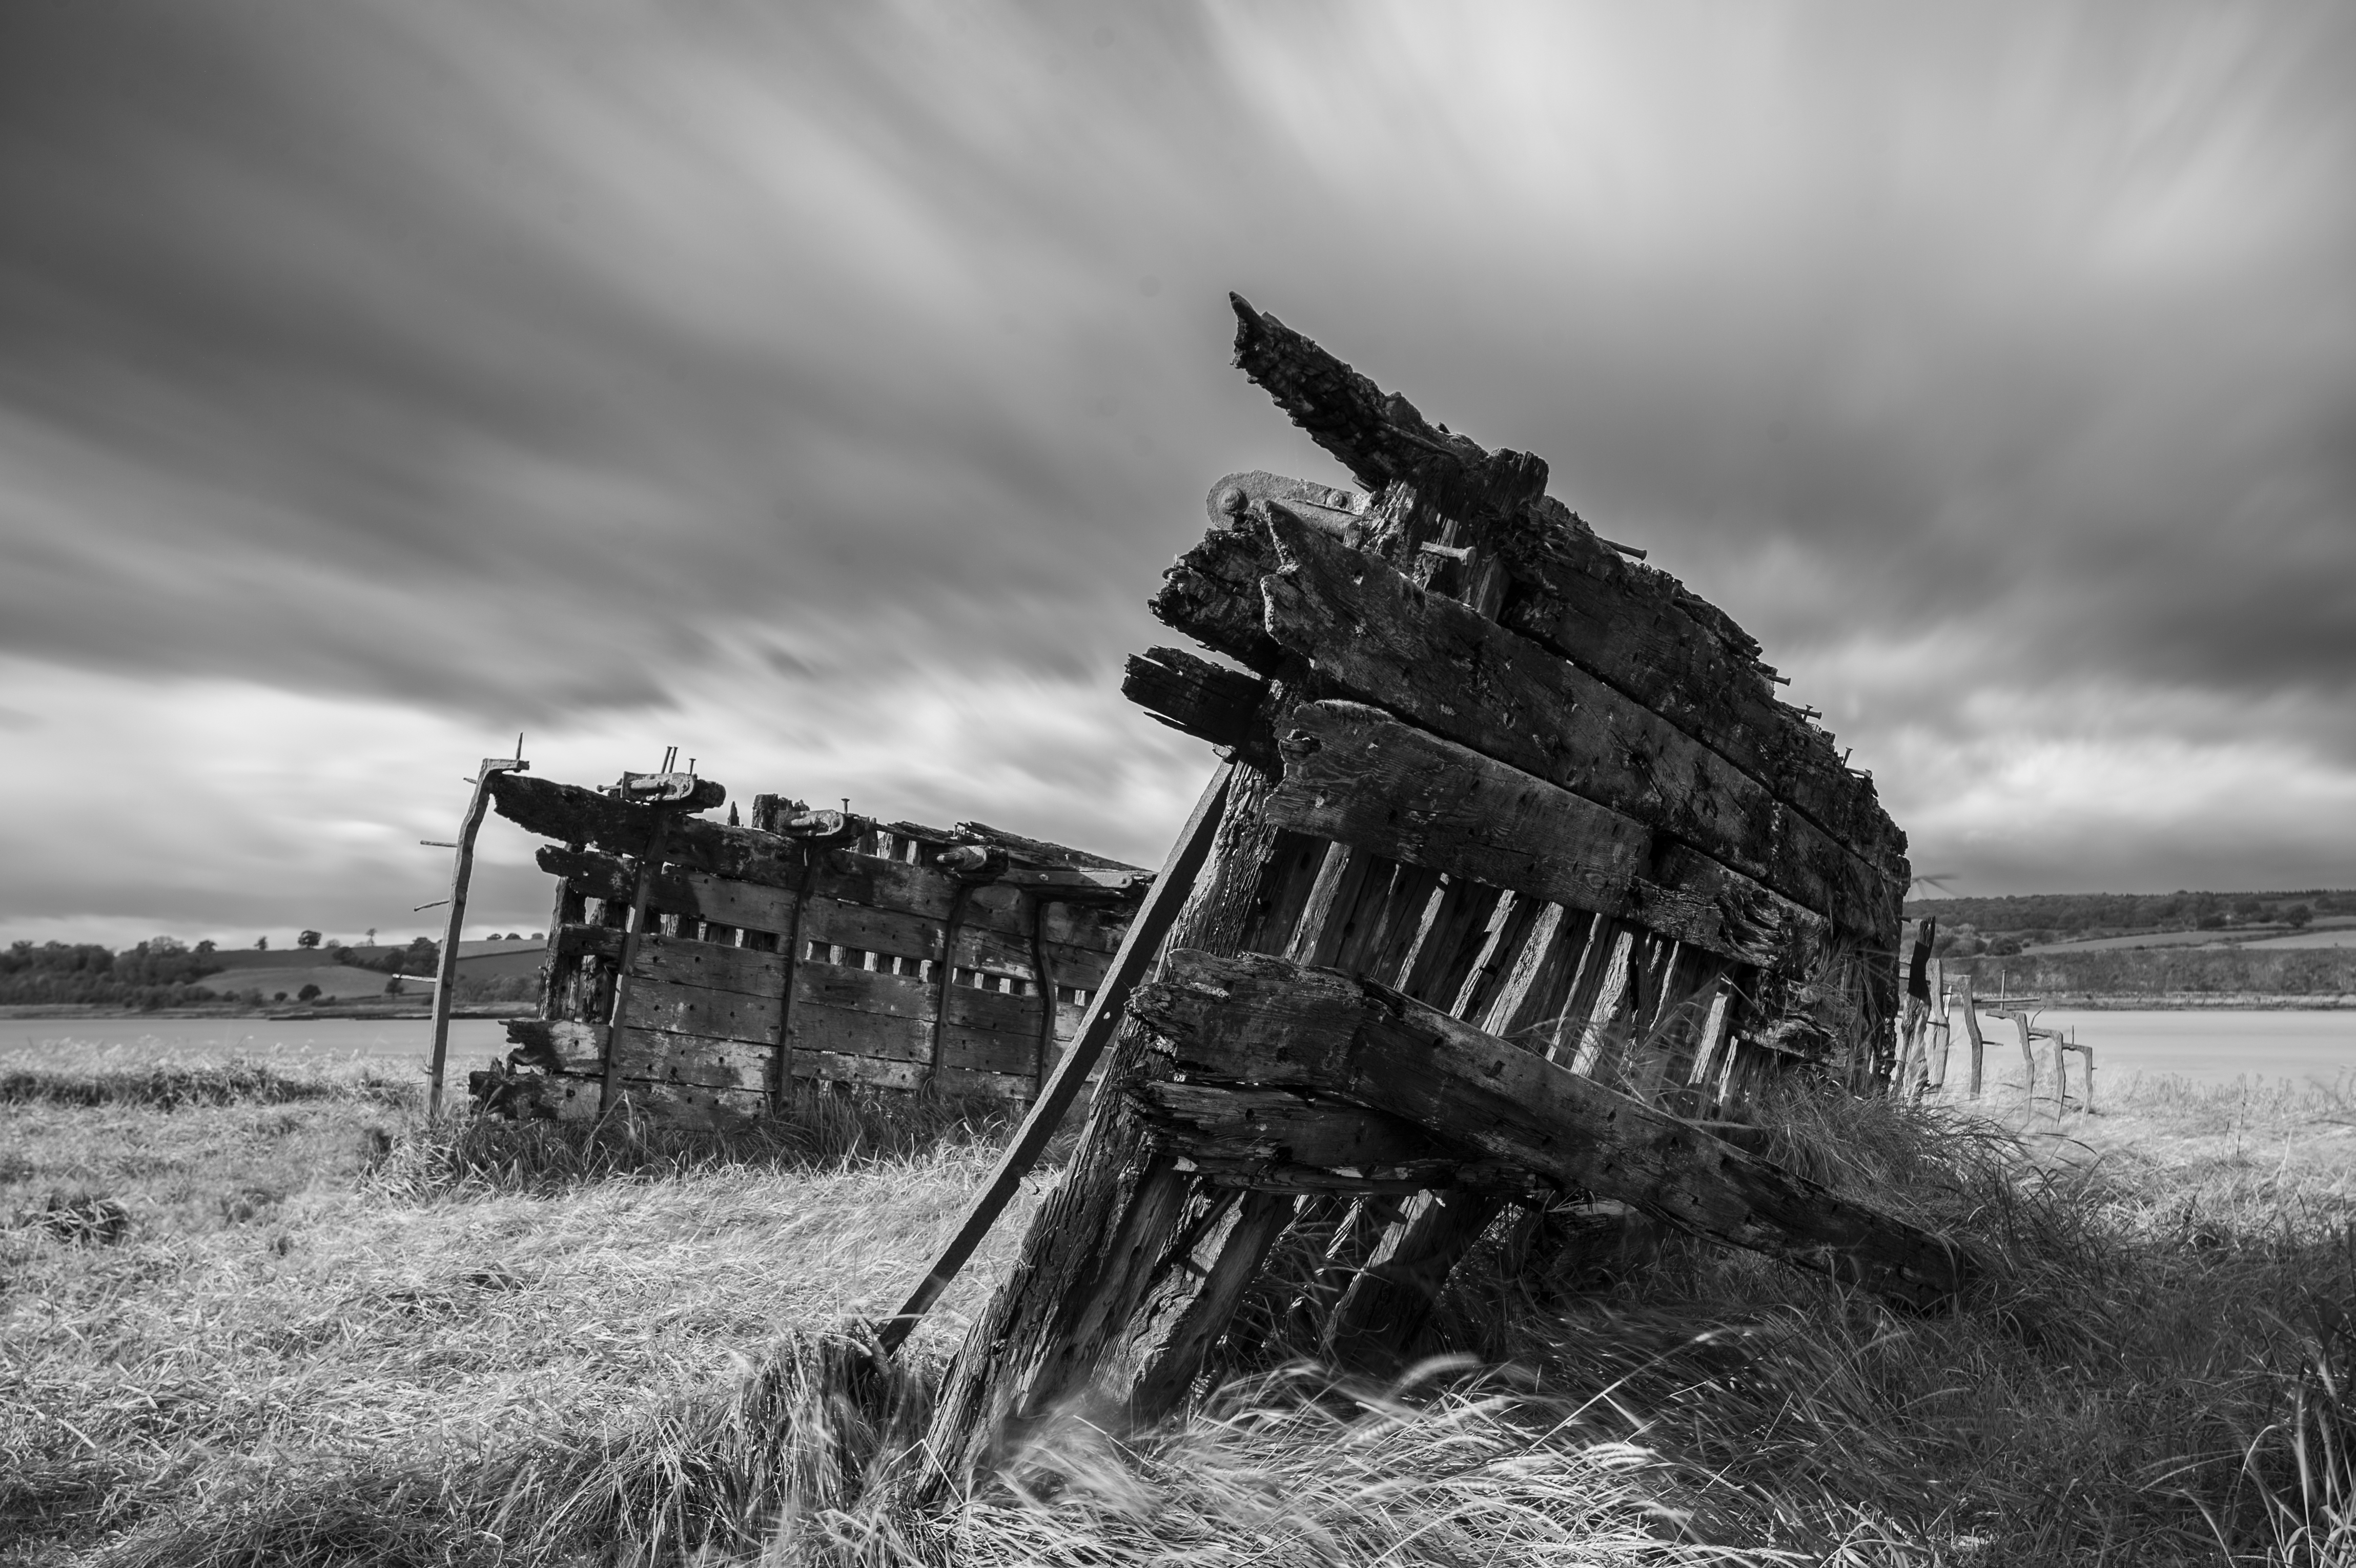
This time, I shot through the railings of the bandstand in the Winter Gardens park. In these two photographs, the focus was achieved as directed in the brief.


Reviewing the Images
The effect of leading the eye to the area or subject that is sharp is clear in all 4 photographs. This effect was first highlighted to me long before starting this course, however. During some previous learning it was suggested that I watch a drama programme on television and pay attention to scenes where multiple characters in dialogue with each other. When the subjects are in the frame together, i.e not in individual close-up shots, the camera operator shifts focus between the characters when they speak. The connection between the dialogue (sound) and the action (vision) is made by exploiting the left hemisphere of the brain’s need to look at the subject that is sharp. Throughout the scene, the viewer is aware of the other characters and their surroundings, but don’t consciously look at them until the camera focus changes. This is what this exercise reminds me of and indeed was the most significant shift in my early photography away from simply documenting what I see as ‘photorealistic’. Looking at Photo 3, the detail in the railing really stands out because it is sharp and the shapes lead the eye around the detail of the ironwork. However, the depth of the image is something that the viewer is aware of; there is clearly a path leading off into the distance and some kind of staircase in the distance. The sign on the right only becomes clear when the focus shifts, though. In Photo 1, the viewer can see the detail of the wrought iron and if looking carefully, the tiny lights that are around it. However, the effect of shifting focus in the composition in Photo 2 creates the bokeh effect on one of the lights, which now becomes something the viewer is aware of, even though the subject that is sharp is the sign in the background.


For the third image, I had to return to the subject some time after the original shots. I set the camera to 200mm and selected the smallest aperture possible, which was f22. In order to get a decent exposure, I had to increase the ISO to 3200 to accommodate the low, overcast light. Photo 4 was shot with the foreground in sharp focus, but the background can be resolved easily when looking around the frame. Photo 5 shows the inverse with the focus set to infinity and the detail in the close-up subject being easy to see despite not being the point of focus.
